
CTO
Product images are important! Here are 10 tips for better product images
Good product-images make that your visitor have a perfect shopping experience when visiting your online store. Improve the customer-experience is what is seen as the biggest trend in eCommerce for 2016! (see also: Trend 2016 ) Perfect, and professional-looking product-images contribute to that trend, and a positive customer-feeling.
But unfortunately not every online store has a big budget to spend on a photographer. Partner Ymage has 10 tips for you to end up with better pictures in the end, and still “do-it-yourself”.
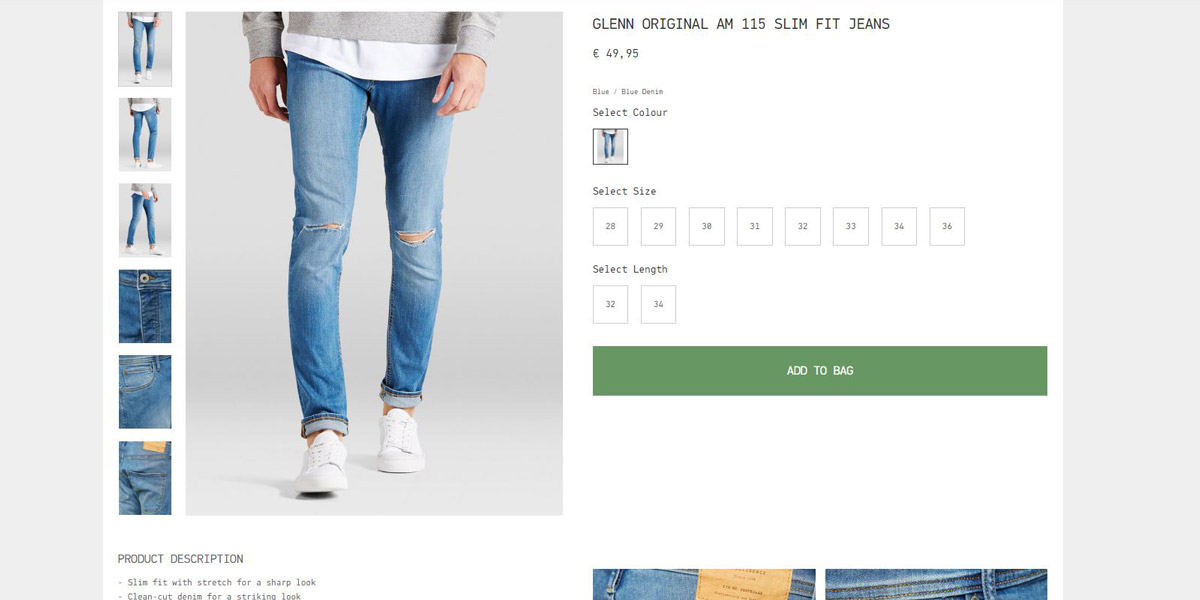
Next to nice pictures on your website, that provide a certain feeling of the brand, you need detailed product pictures to give your customer the same experience as if they are visiting an actual store. They need to imagine how the product looks, feels, smells fits, and works. That starts with a good clear “thumbnail” on the category-page of the shop. A thumbnail is a small visual of the actual (larger)image. Be sure that the actual picture is a large one that is made smaller for the thumbnail. Don’t start with a small thumbnail that needs to be enlarged on the product-page. In that way, you lose a lot of resolution.
1. Always make sure you photograph the full product.
Be sure to take a picture of the full product. If you zoom in too close, details of your product are maybe lost and the feeling that you are running your business from your shed or kitchen grows with your customer. The idea that you want to create is that they are doing business with a professional company.
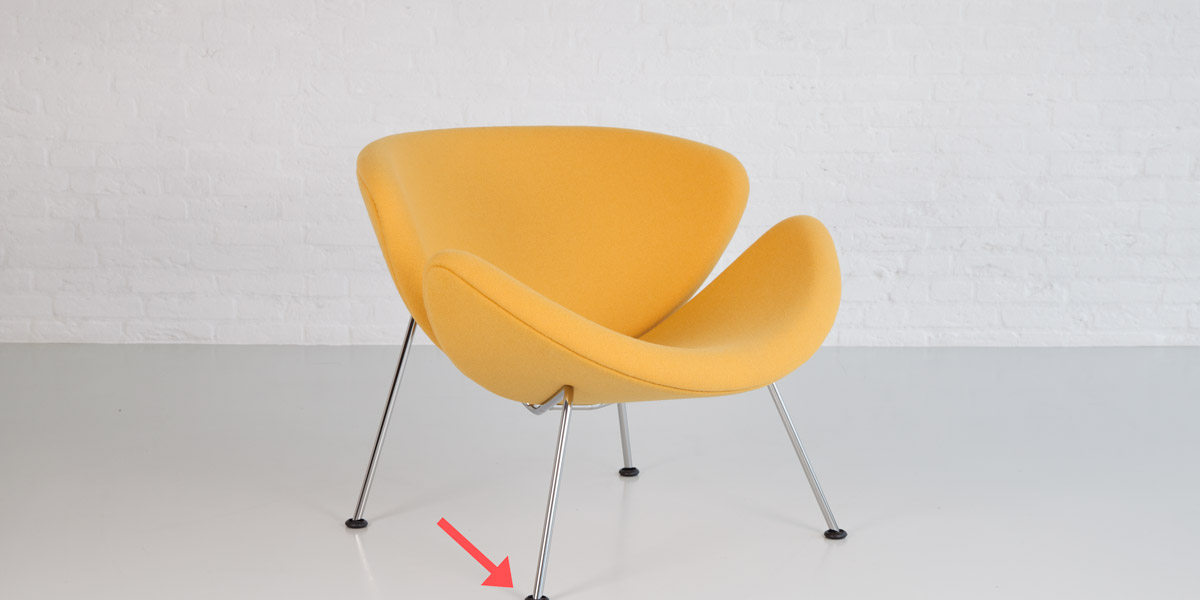
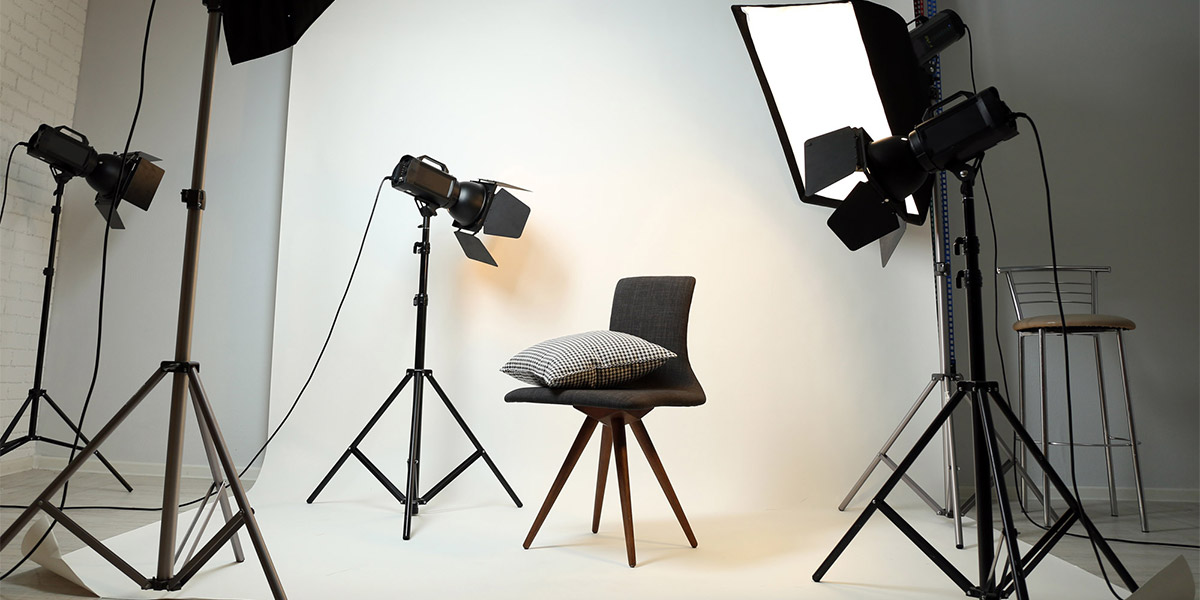
2. Make sure your lighting is right
Multiple light sources are sometimes needed. If you do not use professional equipment, just try to find a spot in the house where the lighting is best. Take multiple pictures in different places. Be sure not to use too much light. It is easier to add extra light in (e.g.)Photoshop than to adjust products with too much light.
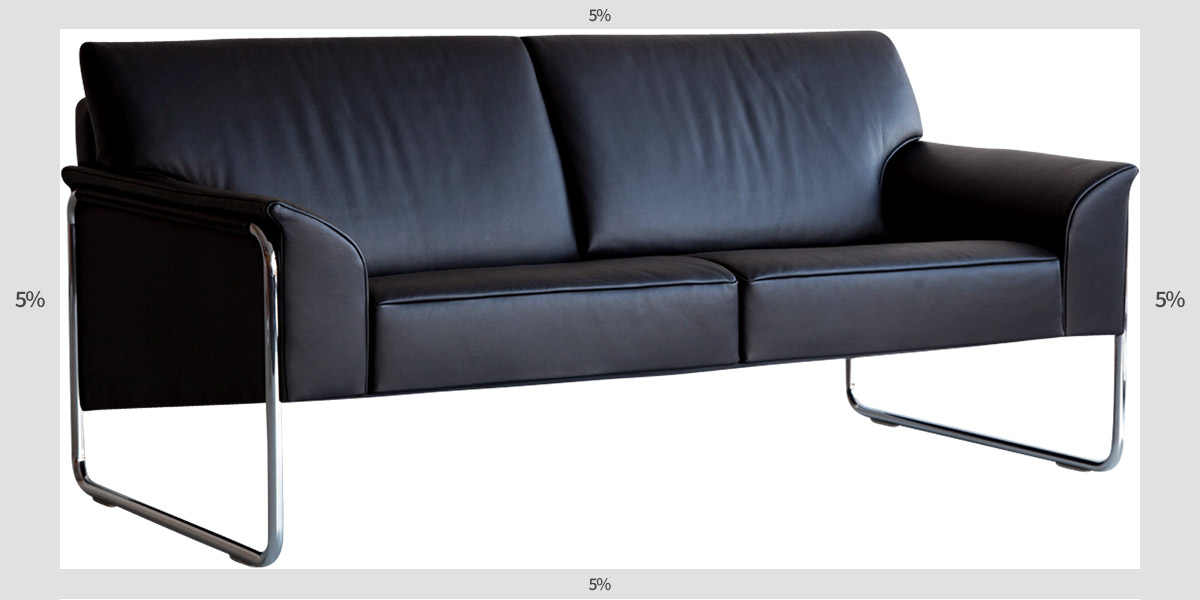
3. Think about the margin around your product
Be sure to keep a good margin between the frame of your image and the product. If you are not going to do any after work, try to think about this before taking all the product-pictures. Also, think about the size of your images. Use one size or ratio for all your pictures. Normally the best is to do everything in a square frame (e.g. 1000 x 1000). Or, if you choose portrait or landscape, try to stick with one size for all. When scrolling thru different images it is not so good for customer experience when your pictures are constantly changing shape and size… This seems like a no-brainer, but still, we come across this phenomenon every day.
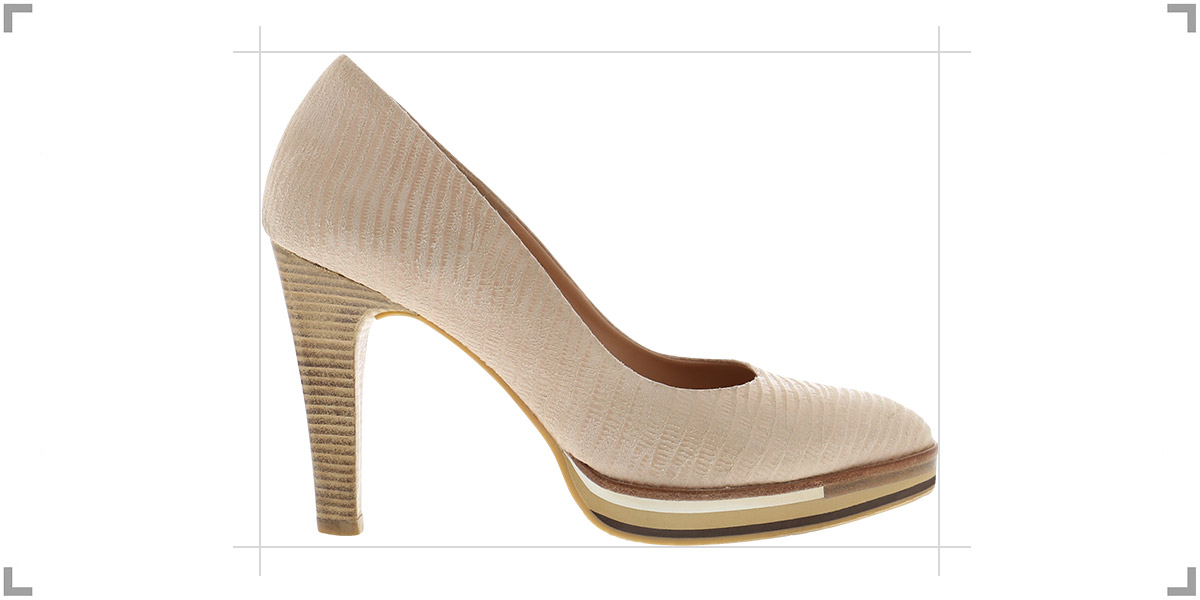
4. Center your product in the frame
When taking pictures be sure to always try to center the product in the frame. This can also be done afterward, in any photo-adjustment tool.
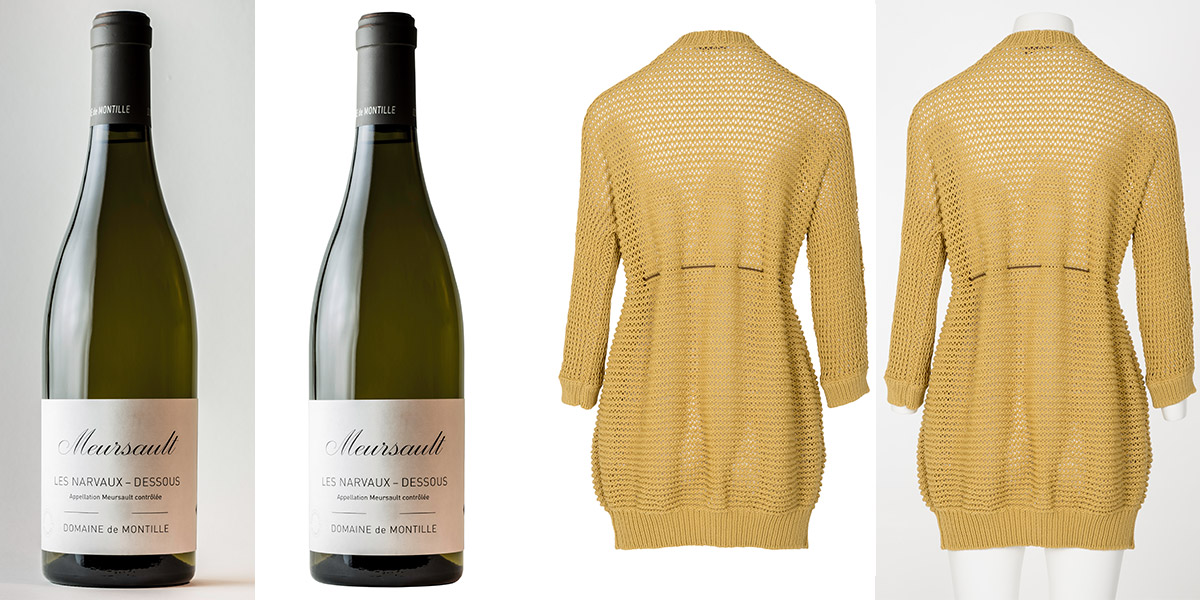
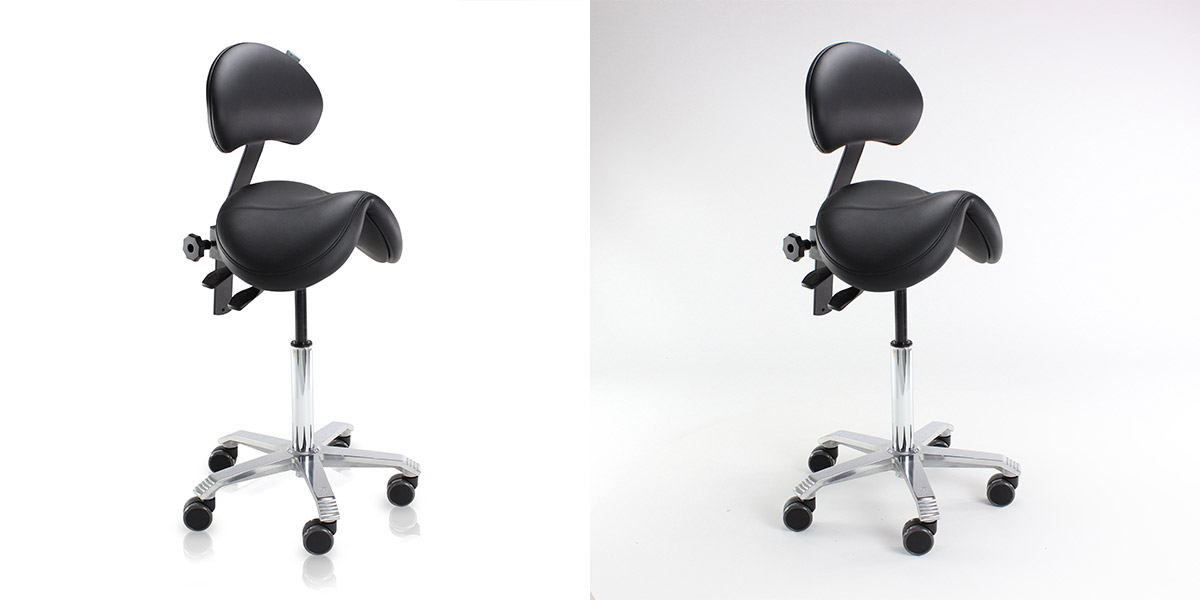
5. Remove the background
When you remove the background from your pictures, this gives you unity on your site. It gives a clean look and eliminates all distracting shadows and reflections. Full focus on the product! If you are able to do this yourself in (e.g.) Adobe Photoshop this would be perfect. If not, or if it is taking you too long, please use our service. The end result will be when removing the background, (almost) the same as pictures taken by a professional photographer.
6. Add reflection
If you like, you can add reflection. Be aware that this does not always make your image more beautiful. This is an option normally used to give an executive, luxurious look to the product. This is mostly done with jewelry, wine bottles, etcetera.
7. At least show one product image
Make sure that you always have one picture of the product available. No picture at all is a certain no-go. Preferably you show multiple pictures of your product, depending on the sort, and use of the product. Always remember that the customer is able to look at a product real closely in a normal store. This means that if there are certain key-features in your product, you should take a picture and show this to your customers.
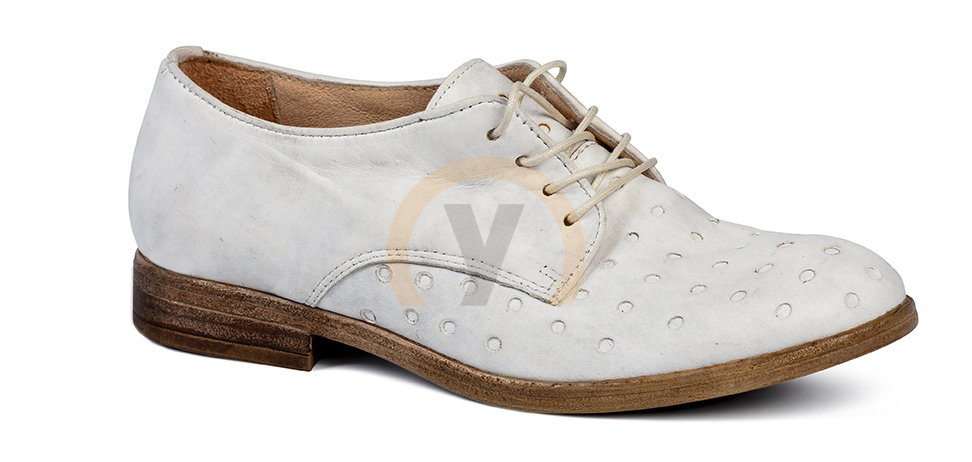
8. Add a watermark or logo
Protect your investment with a watermark or a logo. In this way, you are sure not to have your images copy/pasted to show up on your competitor's website. Less is more when it comes to watermarks. So don’t over-do it! Find something that fits the design of your website.
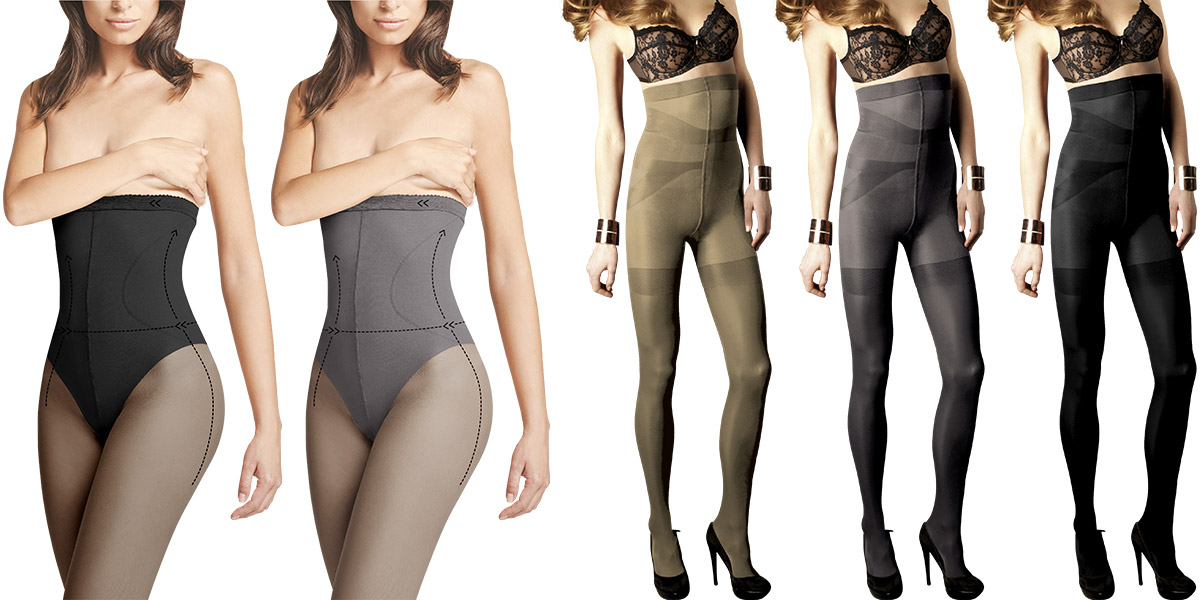
9. Choose the right background-color
If you are not going to remove the background, then make sure that you use a background-color that fits into the design of the rest of your store. If you do remove the background or have your background removed by us, then you can choose any color-code you like. When ordered at Ymage, you also standard receive PNG-files. These are image-files without a background. If your products are then placed against any other background, this looks very nice!
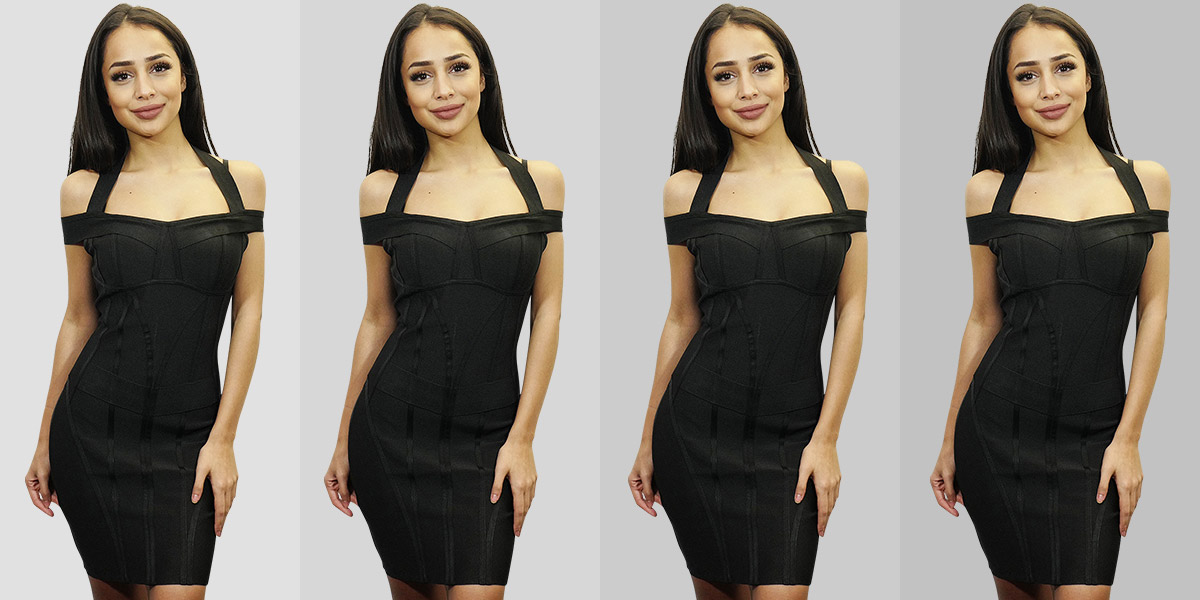
10. Same product, different color
If you have the same product in different colors, you can either take pictures of all the colors available or just take one picture and change this in (e.g.)Adobe Photoshop. If this is not something that you can do yourself, we provide this service for you.
This article was already published some time ago (in the early stage of our partnership with Lightspeed) before Lightspeed acquired SEOshop and therefore accessible in Dutch on the Lightspeed website. Both the Belgian and the Dutch version website of our partner are presenting the same article.