CTO
Build your own simple and affordable photo studio
In this post, we will show you what you will need to build your own photo studio. A simple and yet affordable photo studio in the comfort of your own home. We’ll provide you the setup by example and show you how all things come together to form a photo studio. No complex equipment, or constructions and everything set up within minutes. Ready to shoot some professional product images!
Everything you need is right here
What do we need and are these things expensive? No way, some are even free or you could already have them laying around. Below you will find a list of six basic items you are going to need to set up your in-house photo studio. After you’re done setting up, you’re ready to go and start shooting some amazing product images.
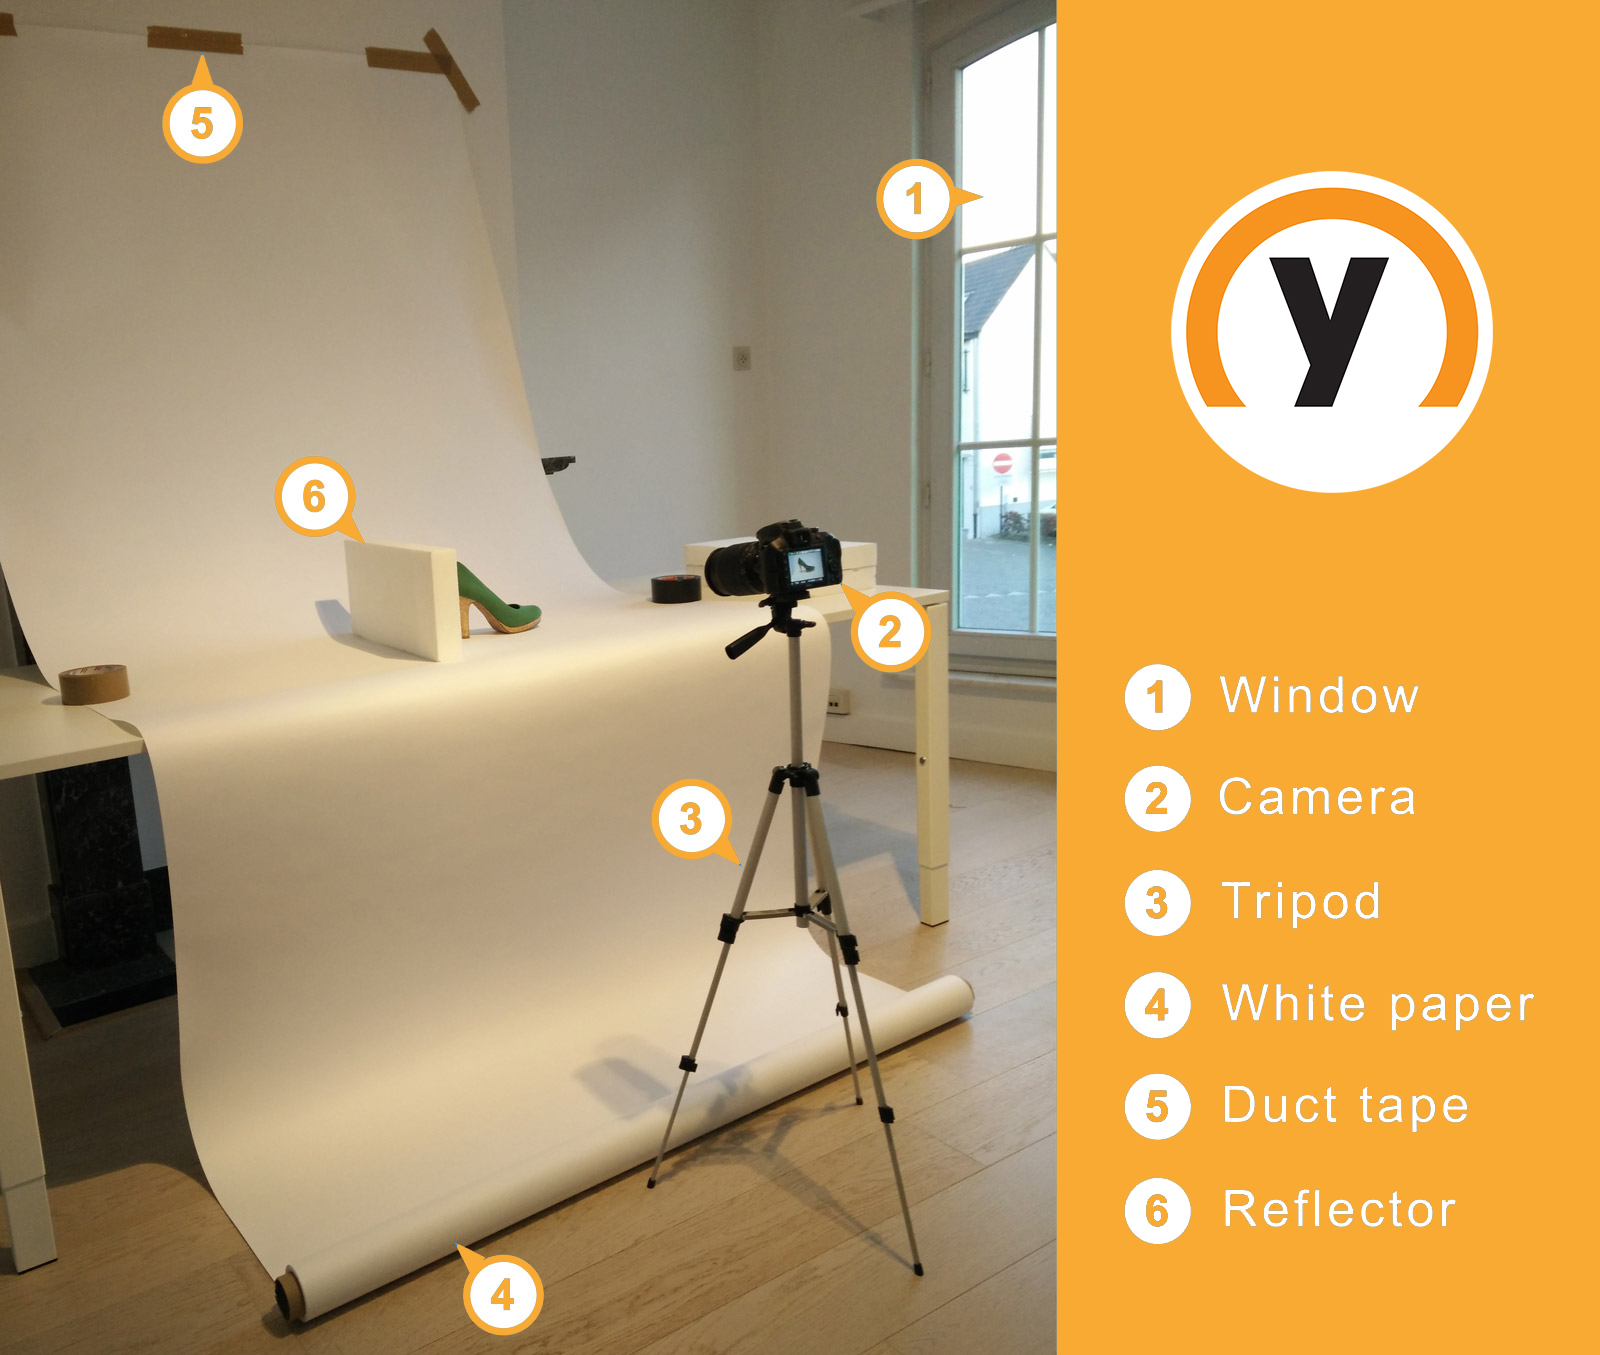
Ok, easy does it. Some basic items like a room, a table, and the six other items of which you have probably some laying around in your cellar, attic, or some other storage room. So, clear the dust, and we’re building our own photo studio.
1. Window
As promised, we’re going to keep it simple. But what’s simple about building a photo studio? Have you ever used external lighting to shoot product images? That’s quite hard, and sure, you have more control but also more settings to tweak before getting it right when using an external lighting source.
Aside from the steep learning curve, money is also on the table when external lighting sources are used. And if you want good equipment, there will be a significant cost attached to it.
Why the window? You’ve guessed it. We’re going to use the sun. It's free and moreover, it provides a great natural light source for shooting product images. When using the sun we need to take just a couple of things into account. First of all, make sure enough sunlight is entering the room, hence a sufficiently large window is beneficial. Make sure your setup is positioned close enough towards the window. Secondly, make sure no direct sunlight (sub-beams or rays) are hitting your photo studio setup, as this will have a large negative effect on the outcome of your photos.
2. Camera
A camera, the most expensive item you will need but no camera, no photography. But not to worry, an old compact camera or your smartphone can get you far. Nowadays, it seems exceptional that neither is at your disposal so don’t run to the store just yet.
In the case that you are planning to shoot a lot of amazing product images, a great asset is DSLR (digital single-lens reflex) camera. Many models exist, ranging from basic to professional models but take it from us, with a mid-level DSLR camera you’ll be set for many years to come and countless amazing product images.
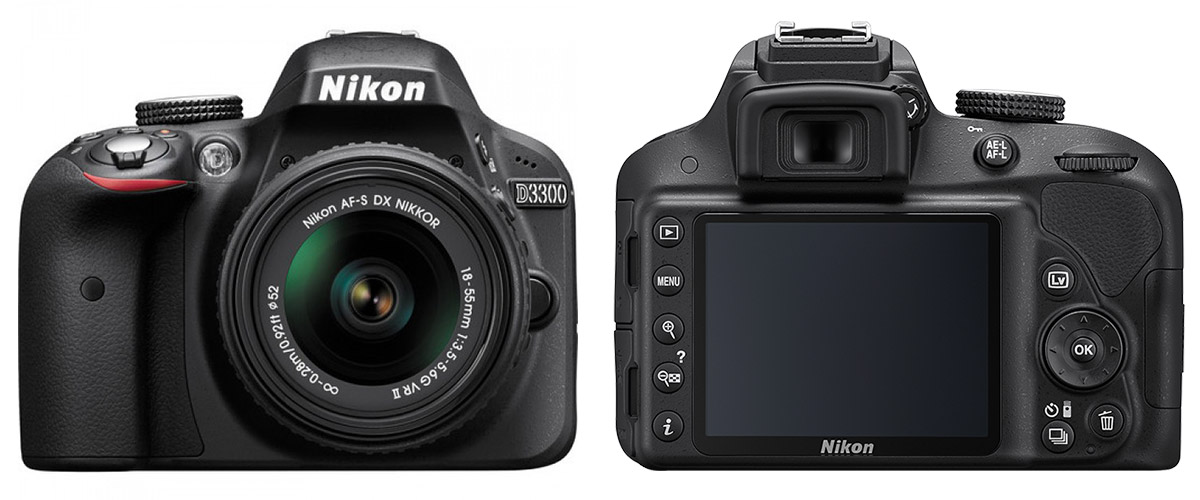
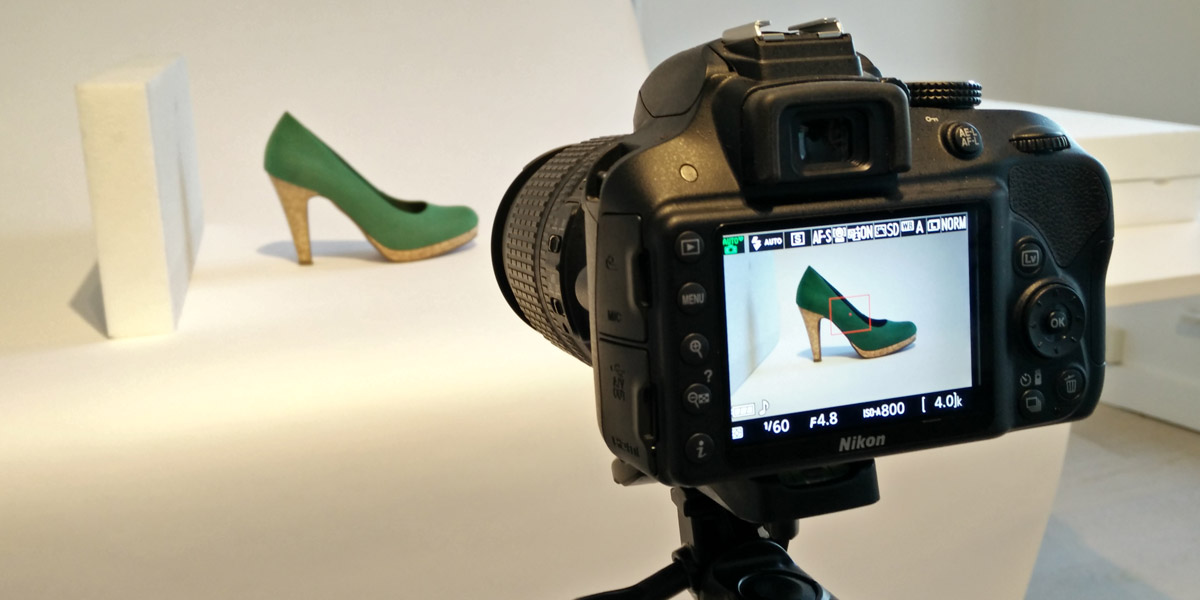
For completeness, we are using a DSLR camera, more specific a Nikon D3300 but any other device will do. One extra tip, if you have non or little experience with photography then give it a try with your smartphone and when really convinced of shooting a significant amount of images, get yourself a DSLR, a basic model will be just fine.
3. Tripod
A tripod is something you will definitely need. Give it a try without and you try to position your camera on a table, adjust the correct height with some books or something else and start shooting. From experience, the joy in photography ends right here.
We could sum up multiple reasons why you will need a tripod but the two most important are stability and flexibility. Locking your camera into position will stabilize the shoot and gives you the freedom to play around with the setup of your photo studio. You now have the freedom to adjust, turn or relocate your product during the shoot because your hands are free. Secondly, stability is key when shooting images, certainly when stepping up your game with a DSLR camera and settings like for instance the shutter speed needs to be adjusted and your tripod makes sure you can go all the way with these settings.
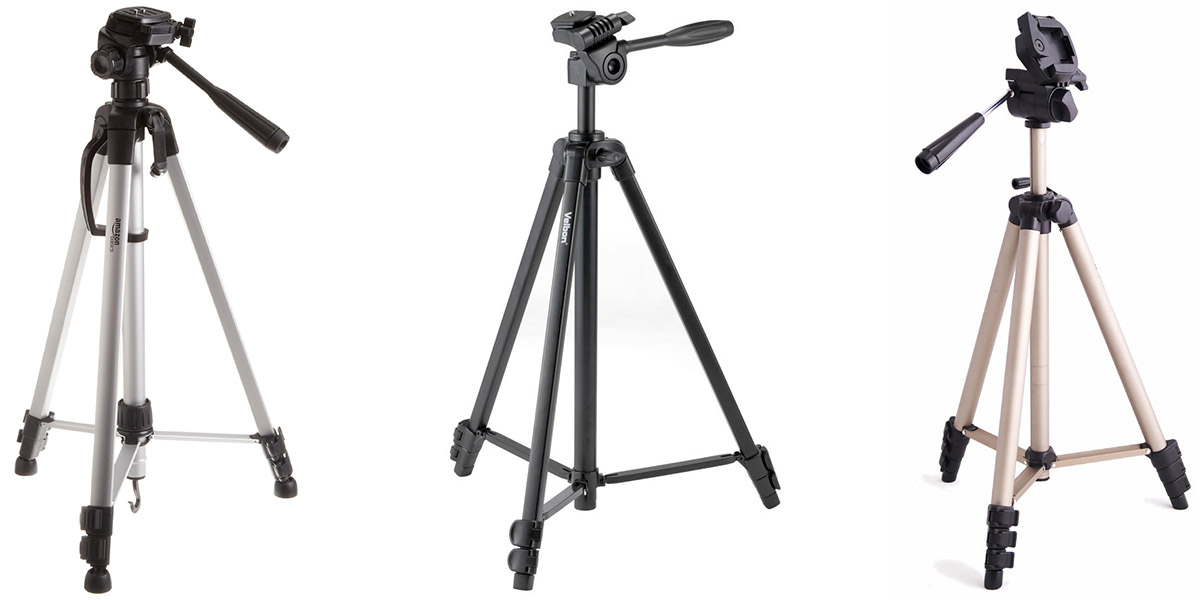
Now take into account that you can already buy a tripod for only a couple of dollars, then this is an investment that cannot be overlooked and will save you a lot of frustration for all shoots to come.
4. White paper
The image backdrop is never perfect (white) without image editing but you want the best base for shooting good product images. A white backdrop is easily realized with a roll of white paper. We advise you to make sure the size of the roll is large enough so you cover your complete range of products.
Another great advantage of using a white backdrop through a roll of white paper is that the backdrop is now curved, avoiding unnatural shadows on your product which would exist if shooting before let say a simple wall.
It all comes down to this: more consistency in your product shoot, better-looking product images, and less product image editing. Ready to sell more!

Where to buy such a roll of white paper? You don’t have to look far, every photography equipment store has a wide range of backdrops. As already mentioned, just make sure it’s sufficiently large in both width and length and you are good to go.
5. Duct tape
Obvious right? You will need to attach the roll of white paper against your wall so search for some tape or duct tape, make sure you don’t damage your wall but what’s more to say?
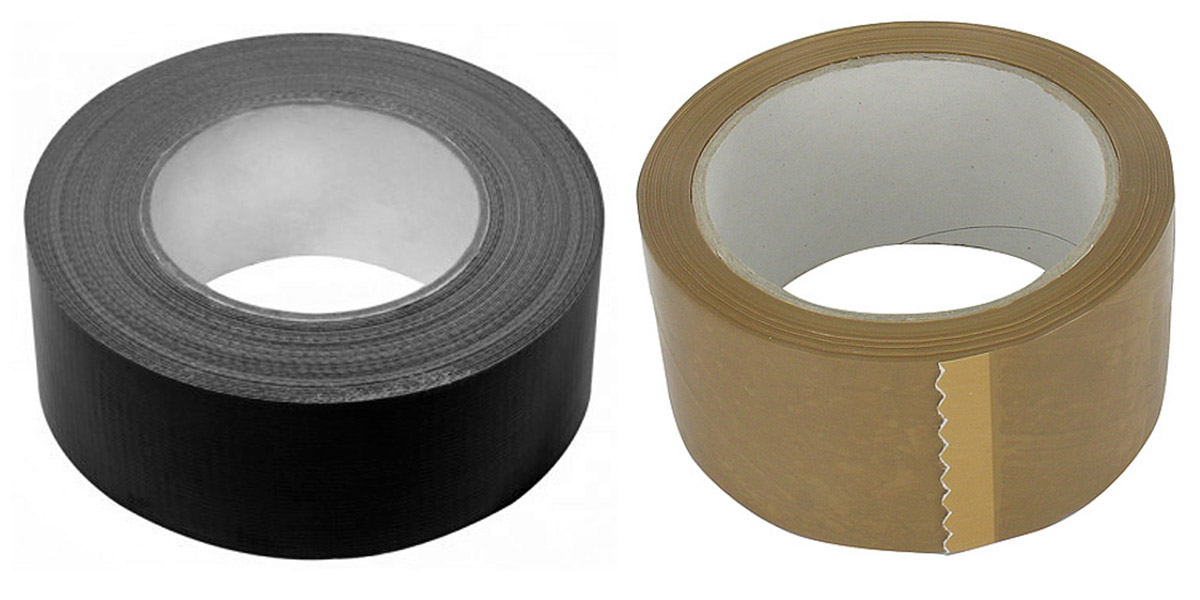
Maybe this. Make sure the paper does not come down so make sure its attached solidly so your setup holds and you can keep on shooting in your self-build photo studio. You want consistency and if you are not a pro the learning curve is guaranteed when your setup does not change too much.
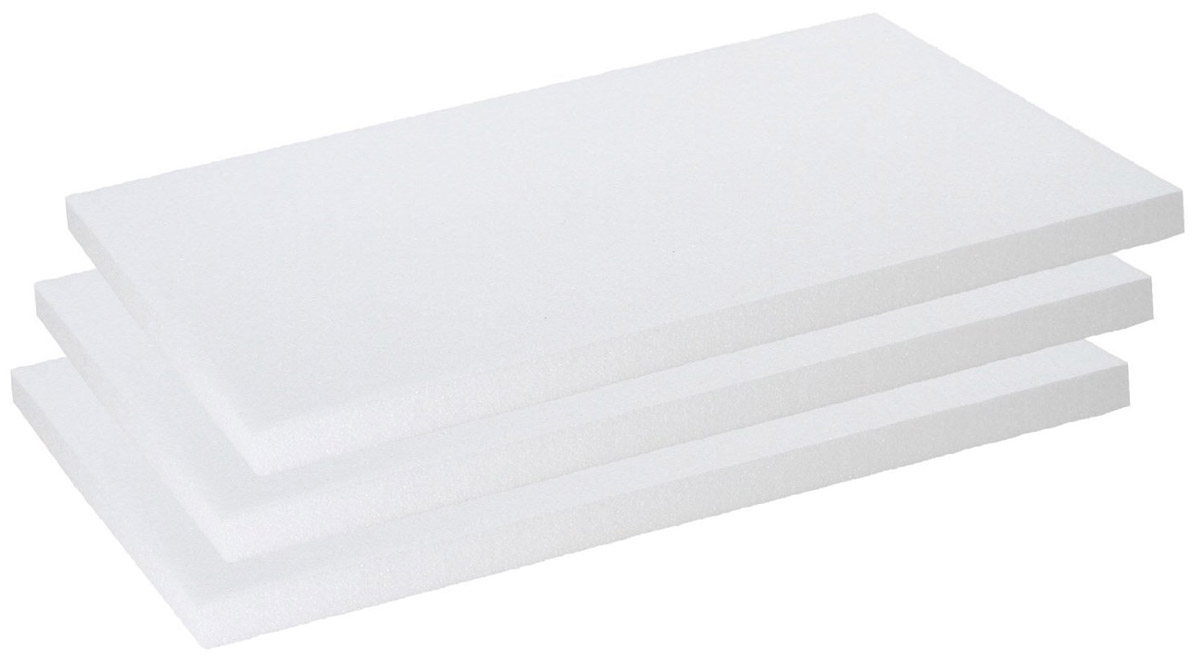
6. Reflection plate
The last item, the reflection material or reflector plate is something that is overlooked by most people but a great asset for your budget-friendly photo studio. Because we are using natural sunlight, remember we’re on a budget, we’ll let the sun reflect against the so-called reflector plate so the backside of your product is less influenced by shadows and light is more evenly distributed over your product.
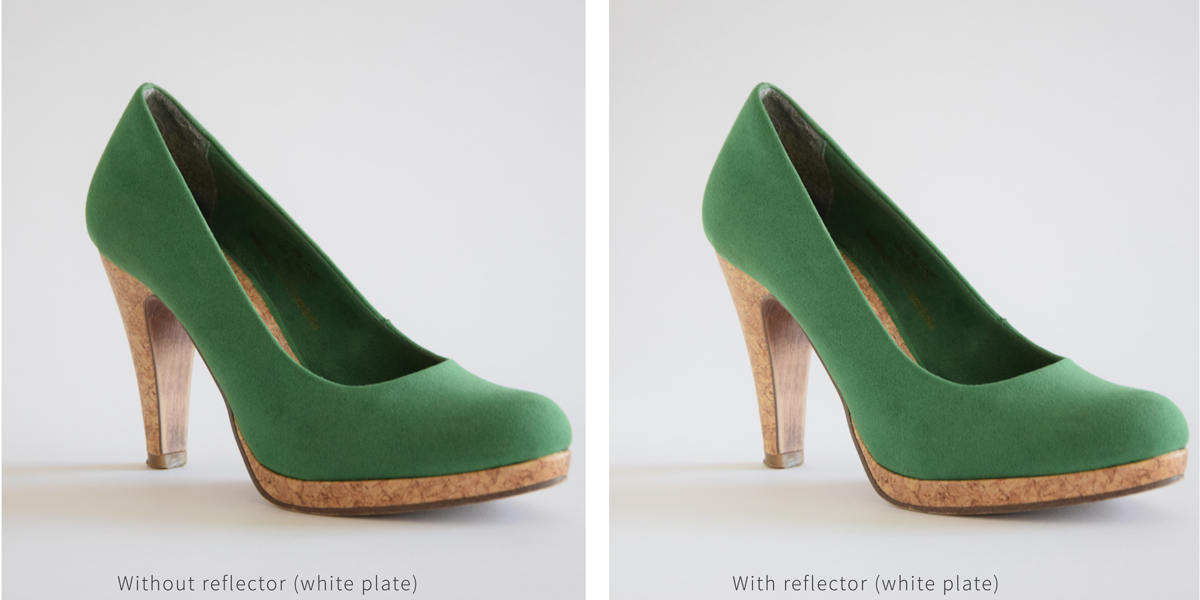
Finally, have a look at the result with and without reflector plate. See the difference? By positioning the reflector plate on the rear side of your product it will capture sunlight in an indirect way but just enough to remove the unwanted shadows on your product.
So that’s it, a simple and affordable photo studio setup with a couple of basic items of which you will probably have some laying around. Ready to improve your product images and taking it to the next level!